Magnetic Attachment Mechanism - Project 6
Developing an innovative magnetic lock system for prosthetic attachments through iterative design and 3D printing, exploring the challenges of creating smooth, durable mechanisms.
Magnetic Attachment Mechanism - Project 6
Need Statement
Our users need a way to complete casual daily activities that is immediately and readily accessible, easy to use (without directions), and allows attachments to be quickly connected to reduce assembly time. This enables them to achieve similar efficiency as individuals with two hands.
Design Principles
My design serves as an alternative to the group mechanism, so I worked independently on this iteration. While brainstorming ideas for an easier attachment and detachment system, I conceived of utilizing magnets to create an automatic lock, similar to the security tags used in clothing stores that can only be removed with a magnetic device at checkout.
The attachment should fit comfortably on the client's hand:
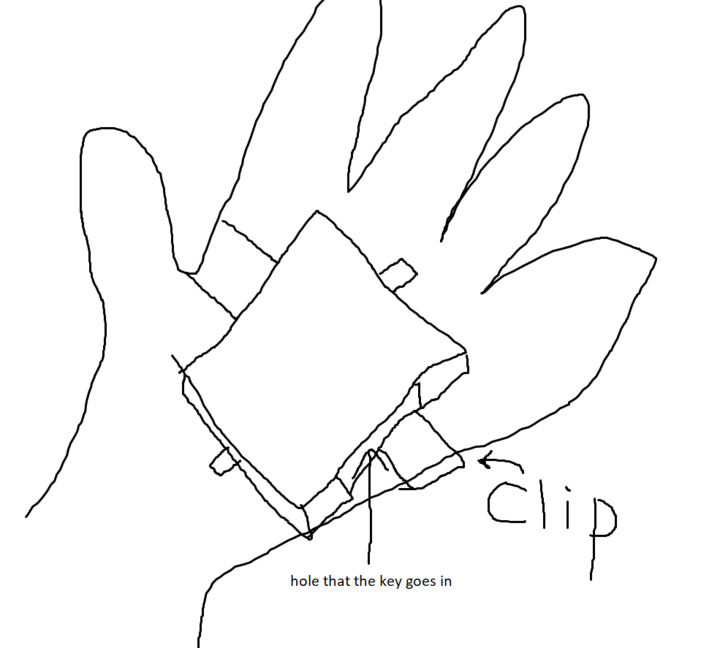
Key Design Requirements:
- Easy to detach/attach (smooth operation)
- Small footprint
- Rounded corners for comfortable wear
- Durable construction with secure magnets
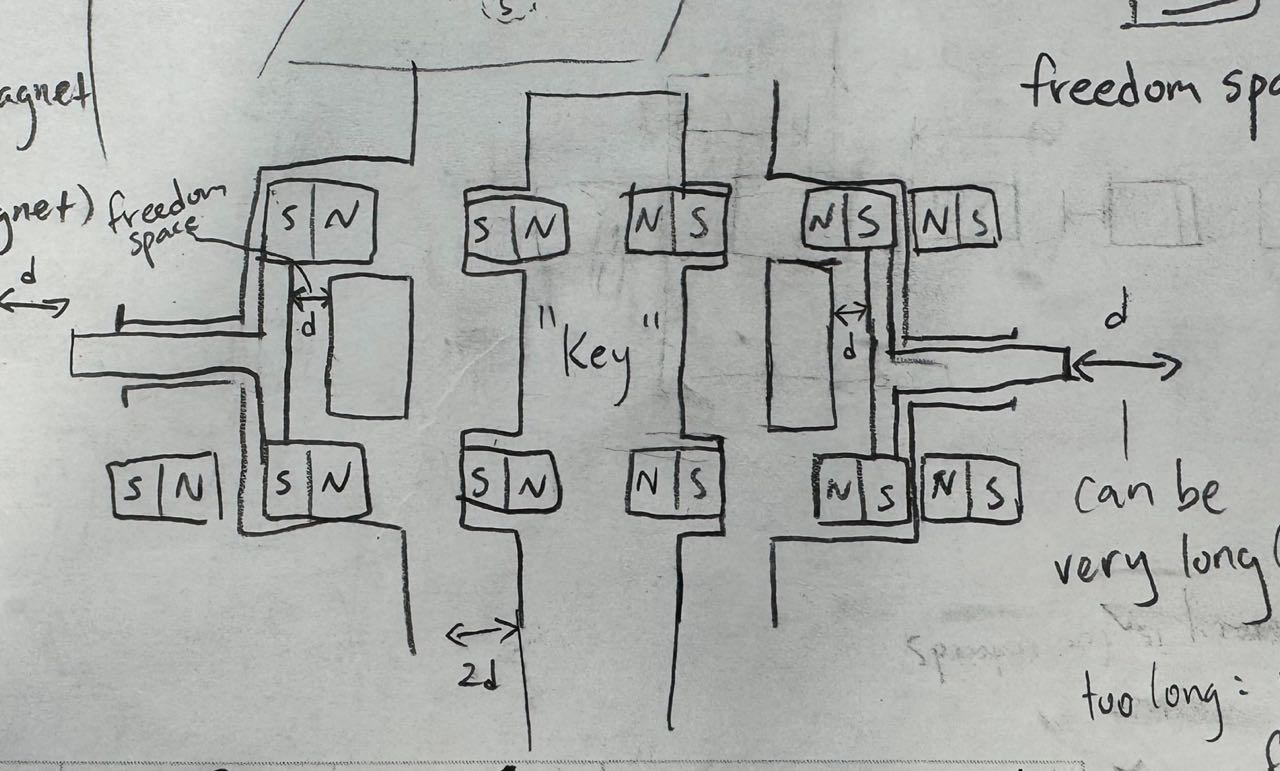
Mechanism Inspiration
I studied various magnetic locking mechanisms for inspiration:
This mechanism utilized gravity for operation, but gravity wouldn't work for my application. When clients move around, a gravity-based system would be unstable and detach unexpectedly.
Initially, I considered replacing gravity with springs, but given my limited experience with spring mechanisms and the project's time constraints, I decided to create an entirely magnetic-based system using 3D printed components and magnets.
Building on my class discussion sketches, I developed this initial design concept:
Iterative Development Process
Version 1: Initial Concept
After printing the first version:

Version 1 Issues:
- Incorrect measurements
- Magnets too stiff for easy removal
- Overall functionality problems
Version 2: Refinement
While Version 2 showed significant improvements, I decided not to print this iteration. Instead, I used the lessons learned to develop Version 3, though I had initially planned to create an acrylic cover demonstration of the mechanism.
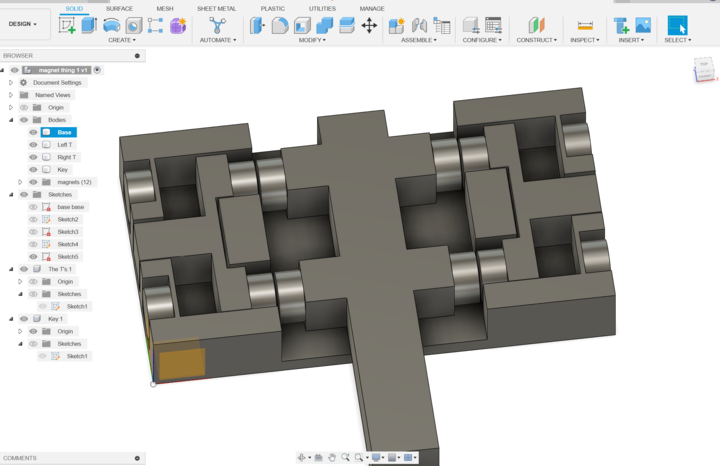
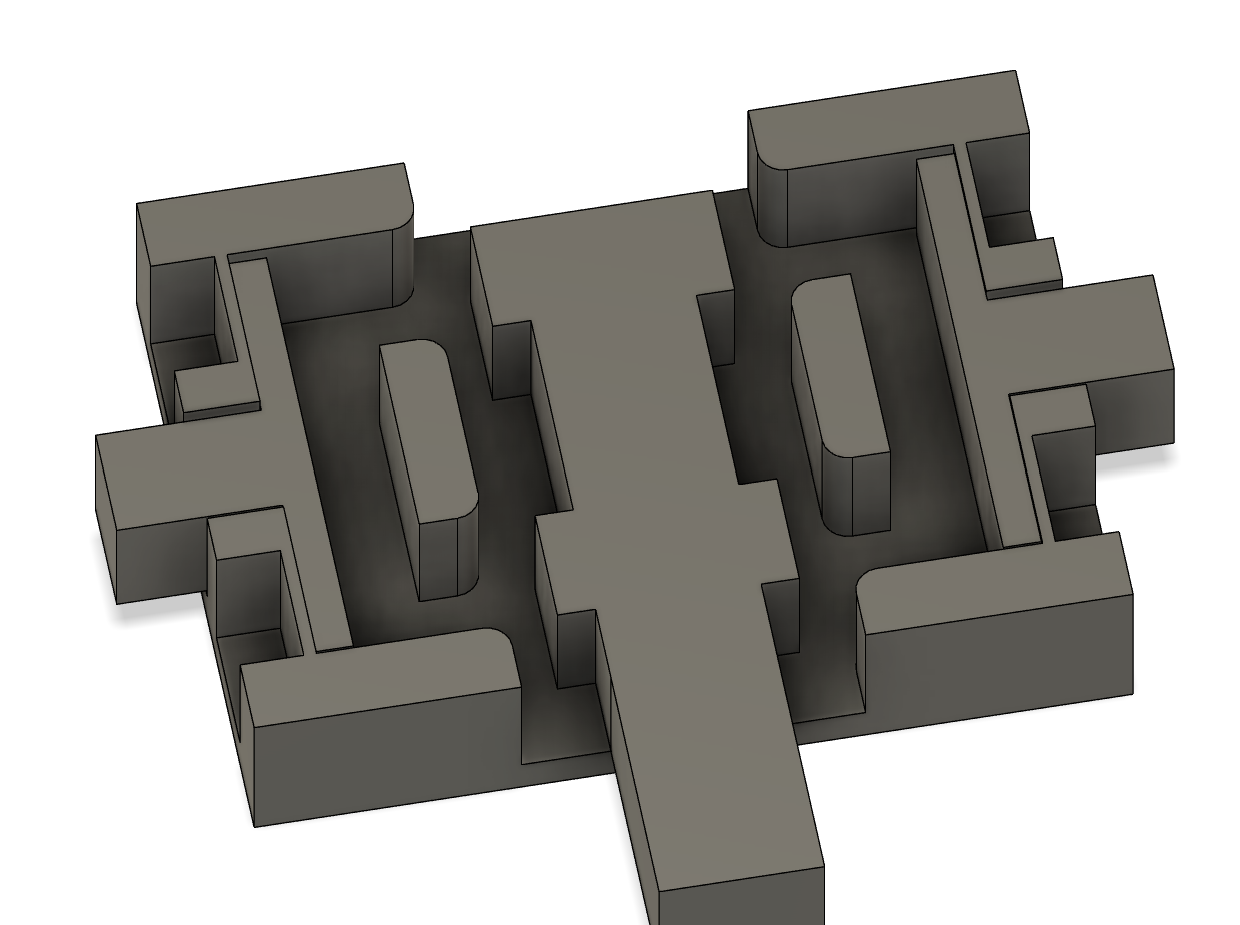
Version 3: Enhanced Design
Version 3 improvements included:
- Added protective cap
- Reduced footprint
- Rounded corners for smoother operation
- Integrated magnet housing
After extensive testing with magnets installed, I identified several areas for improvement:
Version 3 Issues:
- Side walls too thin (2-3mm additional thickness needed)
- Two magnet sets created interference - the 'key' stuck to the wrong magnets
- Still challenging to attach/detach smoothly
- Magnets detached due to insufficient adhesion on smooth surfaces
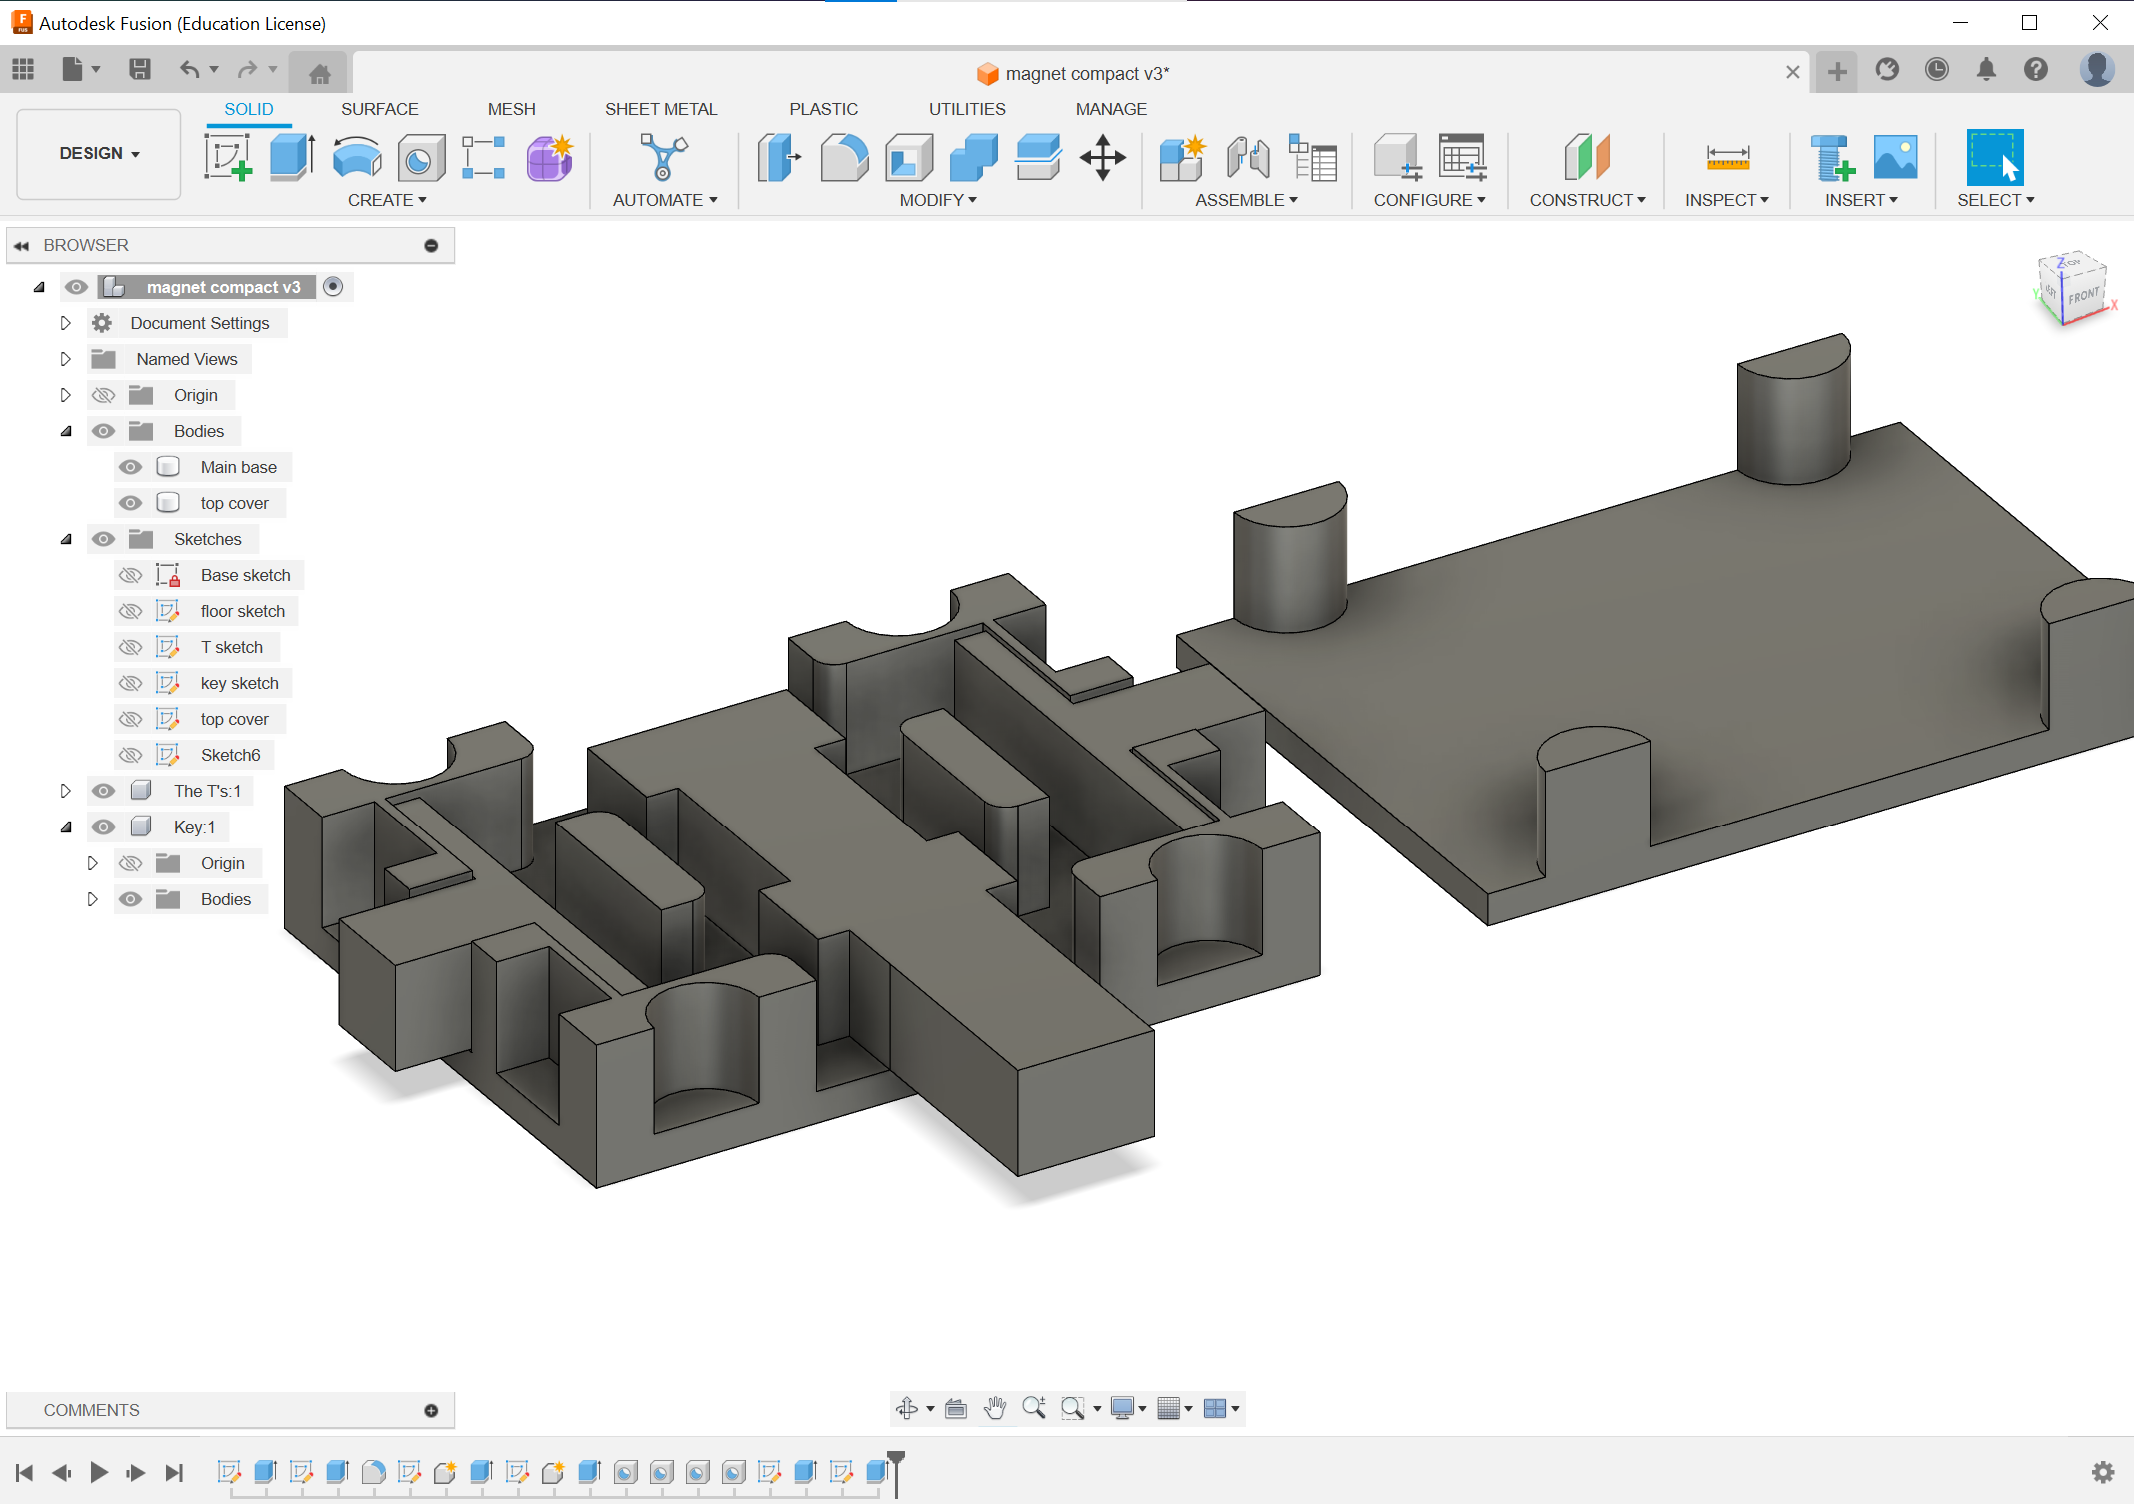
Version 4: Final Design
Version 4 represented a fundamental design shift:
- Replaced blocking mechanism with guide rails
- Added curved top section for automatic centering
- Enabled dual operation modes: user can lift the key OR fix it to a table and attach the lock
- Embraced true 3D design thinking rather than "layered 2D" approach
This iteration marked my transition from 2D thinking to genuine 3D design exploration, opening up new possibilities for mechanism operation.
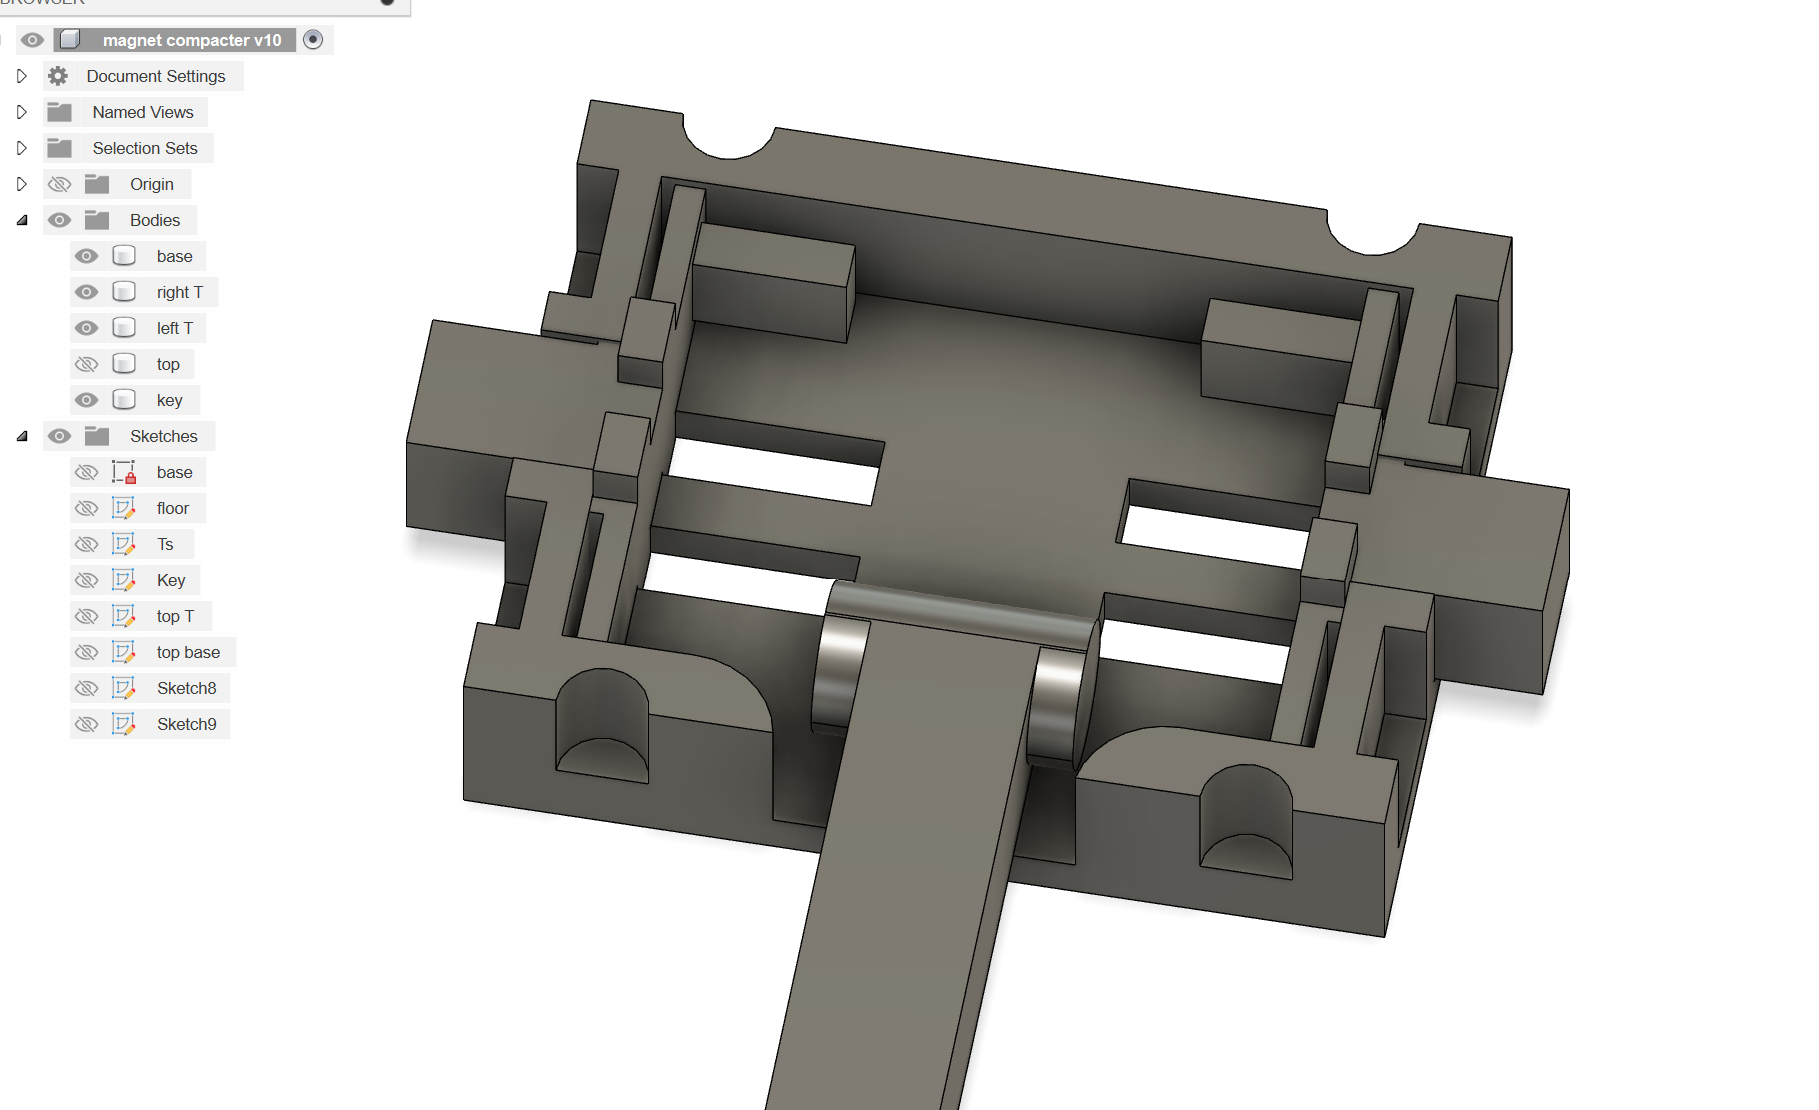
Final printed result:
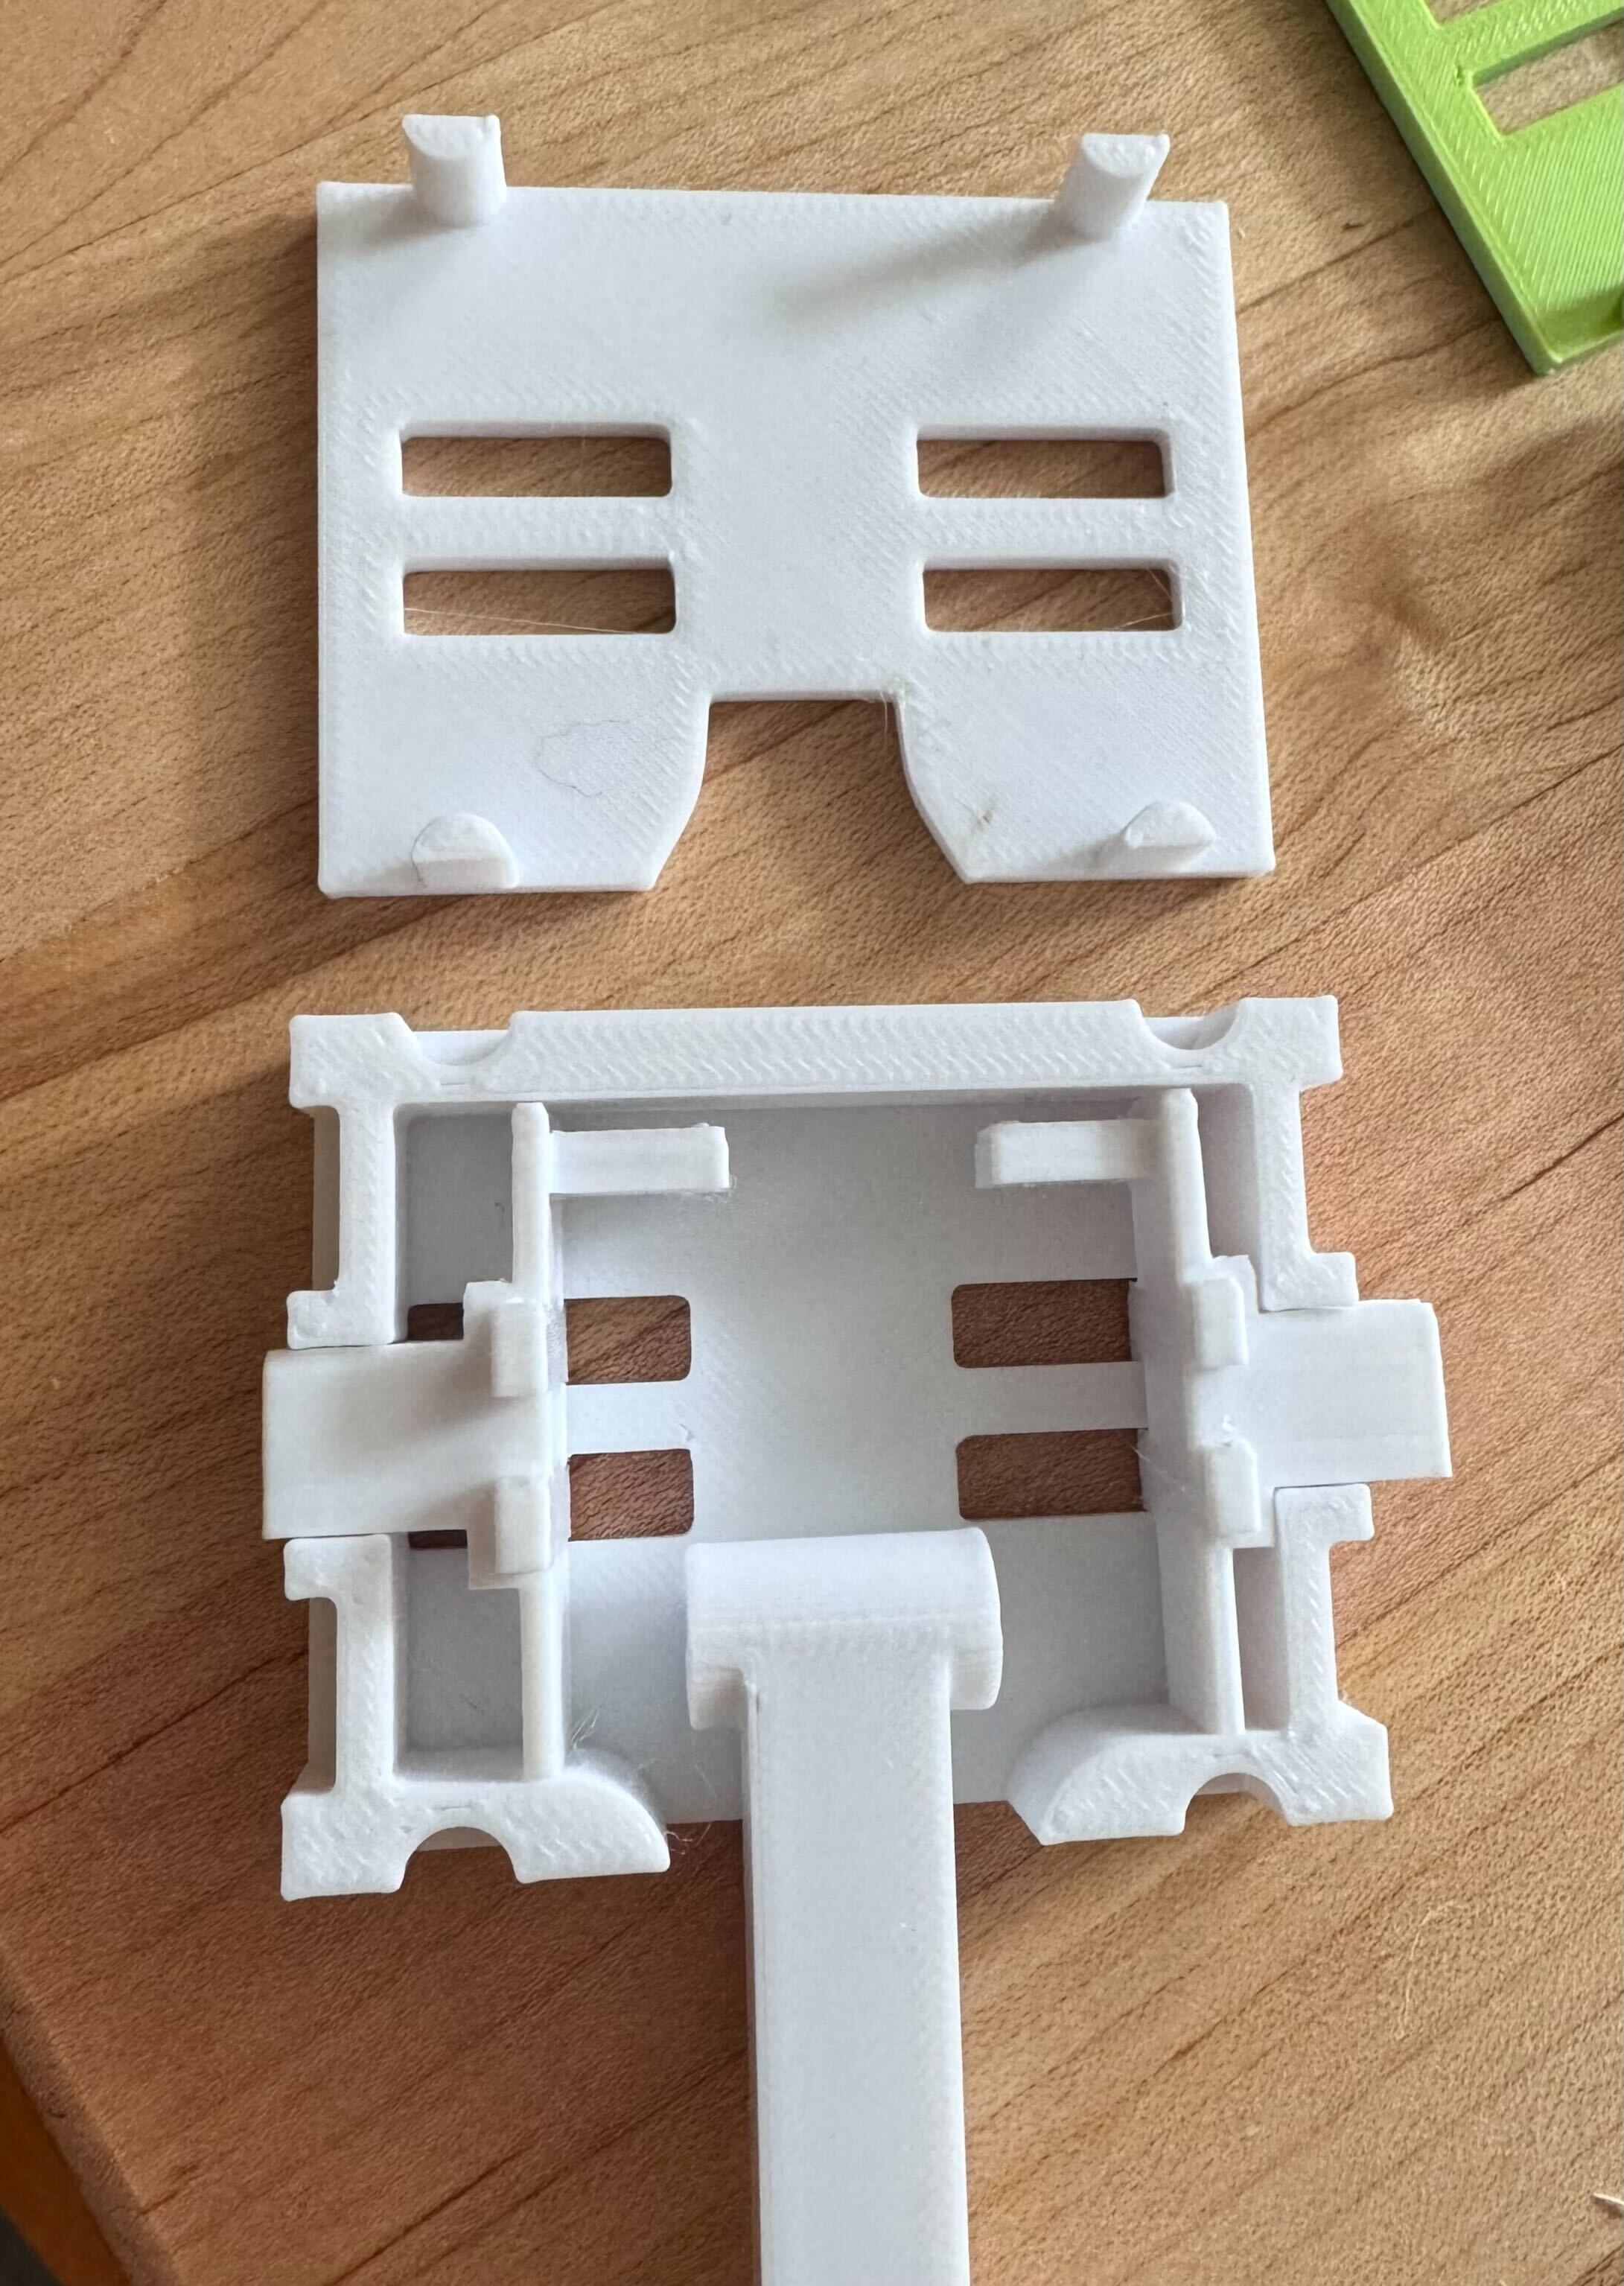
Final Performance and Evaluation
The final mechanism functioned as intended, though the curved centering feature didn't work as effectively as hoped. We switched from superglue to hot glue for magnet attachment, which reduced holding strength but improved repairability.
Testing Results:
- Force gauge testing showed approximately 20N holding force
- Magnets occasionally peeled from sides rather than detaching cleanly
- Weight-bearing handled by mechanical components rather than magnets alone
- Overall functionality met design requirements
Reflections
Throughout the design process, I prioritized ease of use while trying to balance creativity and innovation with practical functionality. While I occasionally got caught up in making the design "creative and innovative," I managed to maintain focus on the core use cases.
The base functions work as intended, and I consider this project successful. The iterative design process taught me valuable lessons about:
- The importance of user testing at each stage
- Balancing innovative features with practical constraints
- Managing material properties (adhesives, magnets, 3D printed surfaces)
- True 3D thinking versus layered 2D design approaches
This magnetic attachment mechanism represents a significant step forward in creating assistive technology that prioritizes user independence and ease of operation. The lessons learned from this iterative development process will inform future assistive device designs.